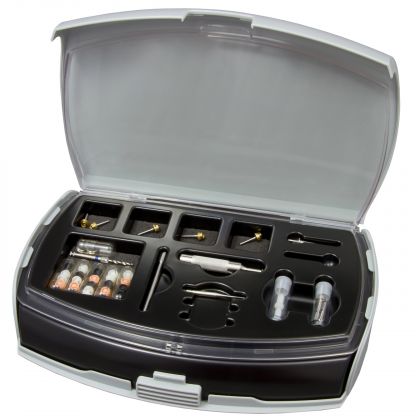
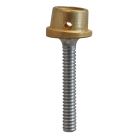
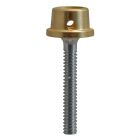
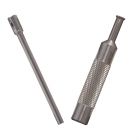
ERA Direct Master Kit with Small Diameter Post & Tools
Resilient precision attachment.
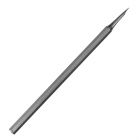
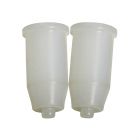
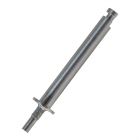
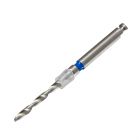
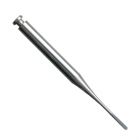
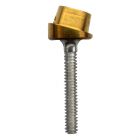
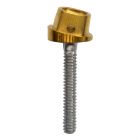
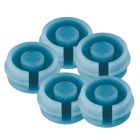
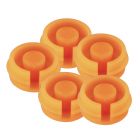
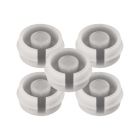
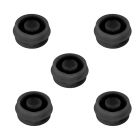
Resilient precision attachment. Kit Contains: Five small post females, (2- 0° , 1 each 5°, 11°, and 17°), Males, 5 sets of 5, (two each of white and black and one orange), 2 metal jackets, 2 Processing jigs, 2 alignment handles, 1 of each Gutta percha drill, pilot drill, countersink bur, core cutter bur and seating tool.
1. What is the difference between the direct and in-direct?
Attachment females are pre-manufactured of stainless steel in a titanium coating. Four post angles: 0 degreees (straight), 5 degrees,11 degrees, and 17 degrees. Choice of two post diameters: 1.3mm or 1.7mm, both 9.0mm long. Designed for direct placement into the root without a cast coping.
2. How many choices are there?
The chioces are basically within size and angle. There are small or large post, and angles that vary from 5 degrees to 17 degrees.
3. Are there any special techniques involved?
No. Use the special Spade Drill supplied with the Master Starter Kit, to remove the desired depth of gutta percha. Size the canal with the Pilot drill. The alignment if this initial preparation will generally follow the direction of the canal. Countersink the root surface with the Countersink Bur to a depth equal the thickness of the collar of the Countersink Bur. The top surface of the female base must always remain above the root surface so that the nylon male can snap in without interference.
4. How are the two (2) attachments paralleled?
Snap the plastic handle into the 0 degree females. Place the females with handles into the completed preparations and visually approve the approximate parallel alignment of the female eyelets. If the alignment can be inproved upon, select the most suitable one out of the 5 degree, 11 degree, and 17 degree angled females and rotate it in the preparation to find the placement rendering the best visual parallelism between the females.
5. Can all of these things be done in the operatory?
Yes. In the operatory, using a round bur, prepare a lingual window into the recess over each coping. Snap a black fabrication male, or metal jacket, into each female. Block out the remaining exposed surfaces of the root, so when the self-curing acrylic is added and cured, it will not be in contact with the root. This small space between the root and the acrylic will allow the resilient function of the ERA attachments. Seat the overdenture to check it does not touch either the roots or the black fabrication males. (If it does touch, use a round bur to remove additional acrylic). Carefully paint self-curing orthodontic resin or denture repair acrylic over the top and sides of the black fabrication males. Make sure that the external retention ridge on the outside of the cylindrical housing of each male is fully covered with the resin. Place additional resin in the recesses in the overdenture and seat the prosthesis in the mouth. Allow the acrylic to cure with the overdenture in a passive position. Prevent the patient from applying enough biting pressure to the prosthesis to compress the soft tissue.
6. Are there any special re-lining or re-basing procedures?
Reline and Rebase
Remove the existing males as outlined above and replace them with the black fabrication males. The built-in spacer of the fabrication male will hold the partial in the upper limit of its 0.4mm vertical resiliency. Lubricate the attachment (male and female) with petroleum jelly. Take a wash impression. Snap processing jigs on the fabrication males in the impression and pour a stone model. After processing, replace the black fabrication males with the final males utilizing the core cutter and seating tool as described above.
Universal hinge with vertical movement.
Post diameter: 1.3mm, 9.0mm long.
Four post angles: 0°(straight), 5°, 11° and 17°.
Nylon male
Black fabrication male with built-in spacer
Radicular snap.
Males changed without use of autopolymerizing acrylic.
Optional ERA® Metal Jacket holds the attachment male in the denture base and is sold pre-loaded with a black fabrication male.
Fixation:
Male - retained directly in processed denture acrylic or an ERA® Metal Jacket.
Female - post cemented in prepared root.
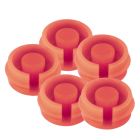
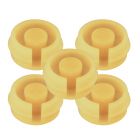
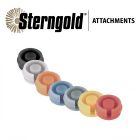
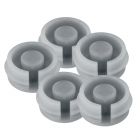
Black fabrication male and six color coded males for a consistent level of retention. From smallest button diameter to largest button diameter they are as follows..white, orange, blue, grey, yellow and red.
Stainless steel female with titanium nitride coating.
Complementary Products
Categories
- Implants
- Attachments
- Supplies and Equipment
- Digital Solutions
- Alloys
- Solutions

